As devoted gardeners know, the trick to maintaining a bountiful garden lies in the heart of your irrigation system. A lack of efficient watering techniques may very well lead to the peril of your crops. Nobody wishes to behold a garden dying of thirst, especially during those brutal summer months. For those garden enthusiasts who understand how crucial an effective watering system is, constructing a DIY raised bed watering system using PVC pipes proves to be a simple and productive solution. Let’s delve into how you can nurture your plants by keeping them consistently hydrated.
The benefits of a DIY raised bed watering system
Setting up your own watering system has several advantages that contribute to the vitality of your garden. For one, it dispenses water directly onto the base of your plants, reducing water wastage and ensuring that the water reaches the roots effectively. Unlike a sprinkler system, the PVC method curtails water loss due to wind or evaporation. Additionally, keeping the water off your plant leaves cuts back on diseases associated with drenched foliage.
Customizing your system also facilitates the process of targeting specific watering zones exclusive to the needs of your garden. The system can water your plants intermittently without requiring your full attention. This can prove instrumental for those on a tight schedule or away on vacation.
Assembling your DIY raised bed watering system
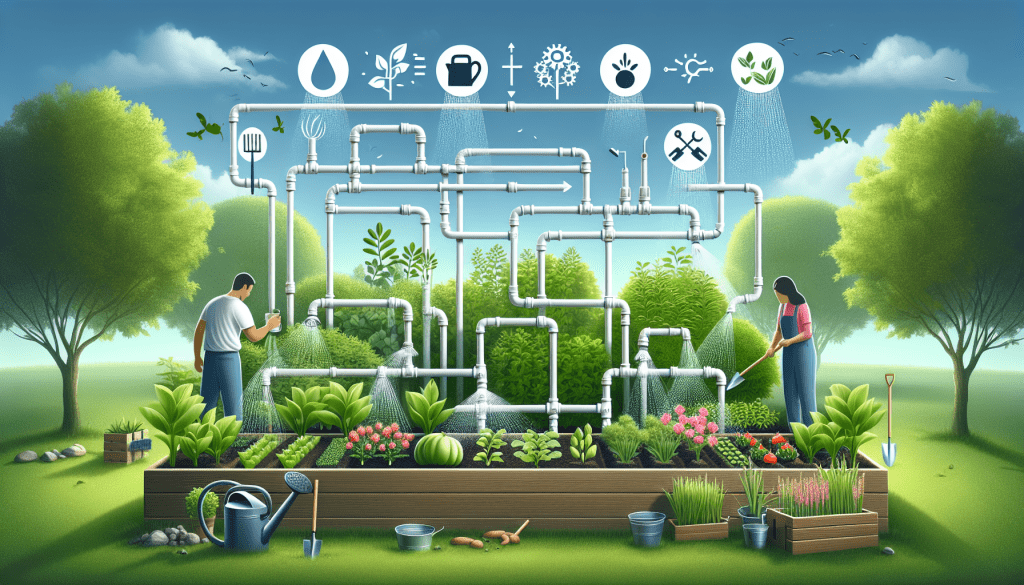
To kick-start your project, you will need several supplies such as PVC pipes, some 90-degree elbows, end caps, a ball valve, tees, and male and female adapters. Creating uniformity in pipe and fitting sizes ensures a seamless connection. For the water source, a simple garden hose will suffice.
Planning and preparation stage
Layout planning is crucial in defining your irrigation system. The ideal pipe layout caters for the delivery of water to each raised bed. It’s worthwhile noting that the fewer turns your layout has, the more effective your system will be. This is because each turn in the pipe reduces water pressure. This system encourages water conservation and is relatively simple to incorporate into any raised bed garden design.
Assemble and install
Assembly is a straightforward process; firstly, attach each piece together to create the desired layout. Ensure to dry-fit all pipes and fittings first, to mitigate mistakes. Once done, you can permanently glue them in place. Also, install a ball valve to manage water pressure.
The last step entails connecting the PVC watering system to your garden hose, and then testing the system. If there are any leaks, adjust accordingly.
It’s always a boon to blend innovative designs and sustainability. Implementing a DIY raised bed watering system reinforces this claim. By crafting this eco-friendly and efficient watering system, we are equipped with the power to control how, when, and where to water our plants, ensuring a healthier and vibrant garden.
Remember, the beauty of a garden doesn’t lie in its complexity, but rather in the attention it’s showered with. My hope is that as a community, we will continue to strive for a healthier planet, one flower bed at a time. Let this be an invitation for each of us to adopt sustainable practices, not just in our gardens, but in all aspects of our lives.


