The thrills of gardening are legion. There is something undeniably satisfying about planting a seed, watching it sprout, nurturing its growth, and eventually reaping the harvest. For both the novice and the seasoned gardener, raised garden beds offer numerous benefits. They not only elevate your garden but also make it more manageable and productive. But did you know you can make DIY raised garden beds with a free cardboard box hack? Let’s explore this exciting concept further.
The why and how of DIY raised garden beds
To start, raised garden beds enhance soil conditions and increase productivity. When the soil in the raised beds is loose and fertile, plant roots can reach easily into the depth, promoting healthier growth. Drainage is more efficient, and the soil warms up faster in the spring.
Creating a raised garden bed is relatively simple. You can use various materials, ranging from wood to stone. However, a very resourceful and cost-effective approach is to use cardboard boxes. The boxes serve as an excellent base for raised garden beds and are eco-friendly, helping us reduce our carbon footprint. So, how do you go about it?
Using cardboard boxes for raised garden beds
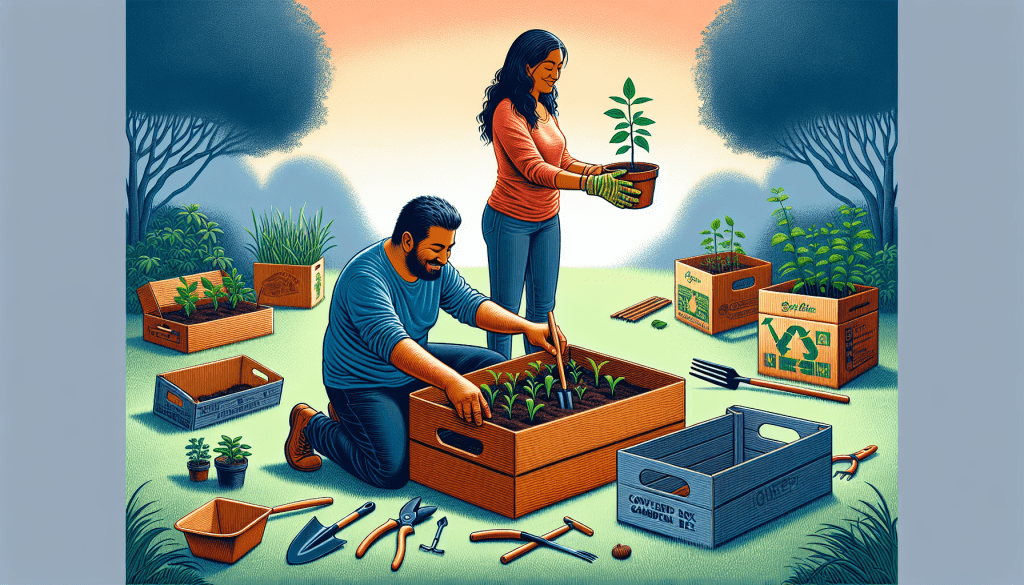
Start out by scouting for large cardboard boxes. Appliance boxes are preferable, as they give you adequate space to work with. Ensure your cardboard boxes are free from plastic, decals, or any other non-biodegradable materials. Now, you’re ready to begin.
First, find a suitable location in your garden for the raised bed. The area should get ample sunlight and should be flat. Then, remove any grass or weeds from the chosen patch. Next, lay the cardboard box flat on the ground, adjusting it to fit the space.
Layer the box with garden soil, compost, or any other organic matter. It’s preferable to create a mix of different types of filler, facilitating better nutrient availability for the plants. Over time, as the cardboard decomposes, it will provide natural compost, nourishing your soil.
Maintaining your cardboard-based garden bed
Once your garden bed is ready, water it thoroughly and let it sit for a few days before planting. The cardboard needs adequate moisture to kickstart the decomposition process. Following this, you can begin planting. You can plant seeds or use young plants, based on your preference.
Ensure you water and fertilize your plants regularly. Over time, you may need to add more compost or soil to the bed, as the cardboard continues to decompose. Always keep an eye on the structure of the garden bed to ensure it remains intact.
If there’s a key takeaway from all this, it’s that the old adage “Reduce, Reuse, Recycle” can truly work wonders when integrated into gardening practices. Utilizing cardboard boxes for raised garden beds underscores the potential for imaginative, sustainable solutions. So the next time you have a large cardboard box, consider giving it a second life in your garden. Not only will you reduce waste, but you’ll also create a flourishing space where nature can thrive.

Emma Johnson is a passionate and insightful writer specializing in the house and garden niche, bringing over a decade of experience to her readers. At the youthful age of 34, Emma has already established herself as a leading voice in home improvement, landscaping, and interior design. Her journey began with a degree in Landscape Architecture from the University of Georgia, followed by years of hands-on experience working with renowned landscaping firms across the country.
Emma’s writing career took off when she started sharing her unique ideas and eco-friendly gardening tips on her personal blog. Her ability to blend practical advice with aesthetic design quickly garnered attention, leading to her current position as a featured columnist for a prominent online news site.
Dedicated to sustainable living and innovative design, Emma’s articles offer a wealth of knowledge, from DIY home projects to the latest trends in garden technology. Her work not only enlightens homeowners looking to enhance their living spaces but also inspires a deeper appreciation for the environment.
When she’s not writing or experimenting in her own garden, Emma enjoys mentoring young designers and participating in community beautification projects. Her contributions extend beyond her written work, embodying her commitment to making the world a more beautiful and sustainable place, one home at a time.


