When it comes to maximizing your indoor spaces, solutions are everywhere. They could be hiding in plain sight, waiting to be discovered with a hint of creativity and a dash of courage. One of those is the unconventional storage idea of adding shelves above your windows. Yes, you’ve read it right – above your windows! Let me explain you why and how.
Reasons to consider storage shelves above windows
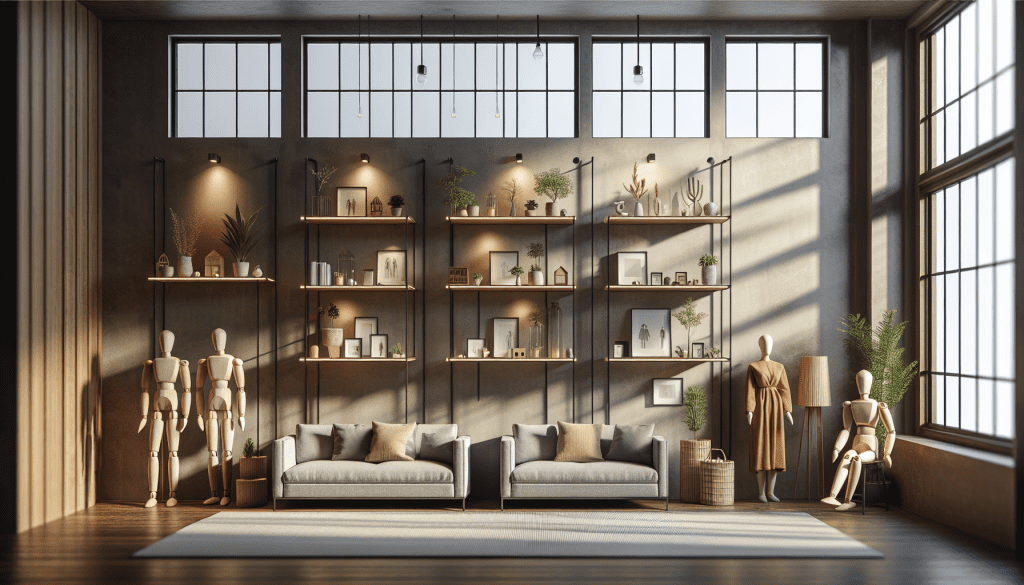
First off, let’s tackle why you should give this a serious thought. It comes down to two main factors – maximizing space and improving aesthetics. Spaces above windows are often overlooked, unused, or allowed to collect dust. Adding shelves here provides a solution to these forgotten areas while creating a unifying look across your wall. Not only will this utilize empty space, but it would also provide a spot to showcase your treasured items.
Process of installing shelves above windows
Before we dive into the instructions, remember to have a clear plan. Measure accurately and always take note of the window trim. You wouldn’t want shelves sticking out awkwardly or looking ill-fitted.
Choosing your shelf material
Start by choosing the material for your shelves. Wood would be a great choice for its timeless appeal and sturdiness. Or, for the more eco-conscious souls, consider reclaimed wood. It provides a unique design element while remaining friendly to the Earth.
Measuring and marking
Your next action step is measuring the space above your window and marking the ideal spot for your shelf. Always err on the side of leaving a little more space than you think you need – it’s better to be safe than sorry here! Make sure your marks are level for an even shelf.
Installation
The last part is installation. Start by aligning your shelf brackets with the markings you made. Use drywall anchors to secure the brackets, then place your shelf on top, securing it to the brackets.
Adding a personal touch
Once the shelf is installed, the creative fun begins. Make the most of this new space by adding small plants, cherished photographs, or other significant mementos. You can also consider spicing up the location by adding a strip of LED lights underneath the shelf. This not only adds a unique touch but can also provide a soft, indirect light at night, adding to the overall ambiance of the room.
In a world where sustainable practices are increasingly important, innovations such as using unused space are not only smart but necessary. With this new use of space, not only can you display precious keepsakes, but you also promote sustainability by reducing the need for buying additional bulky furniture for storage. I hope this article encourages you to see your home in a new light. There will always be unexplored spaces waiting for a creative touch like yours.

Emma Johnson is a passionate and insightful writer specializing in the house and garden niche, bringing over a decade of experience to her readers. At the youthful age of 34, Emma has already established herself as a leading voice in home improvement, landscaping, and interior design. Her journey began with a degree in Landscape Architecture from the University of Georgia, followed by years of hands-on experience working with renowned landscaping firms across the country.
Emma’s writing career took off when she started sharing her unique ideas and eco-friendly gardening tips on her personal blog. Her ability to blend practical advice with aesthetic design quickly garnered attention, leading to her current position as a featured columnist for a prominent online news site.
Dedicated to sustainable living and innovative design, Emma’s articles offer a wealth of knowledge, from DIY home projects to the latest trends in garden technology. Her work not only enlightens homeowners looking to enhance their living spaces but also inspires a deeper appreciation for the environment.
When she’s not writing or experimenting in her own garden, Emma enjoys mentoring young designers and participating in community beautification projects. Her contributions extend beyond her written work, embodying her commitment to making the world a more beautiful and sustainable place, one home at a time.


